Quickstart
This guide takes you from signup to a complete repair, ticket in, status updates out, invoice paid, in about thirty minutes.
1. Create your account
Section titled “1. Create your account”Sign up at app.benchkey.com/signup, every account starts a free 14-day trial with no credit card. The onboarding flow asks for your shop’s basics, name, what you repair, contact details, and uses them to preset your repair categories, statuses, and templates. You can also just describe your shop to the AI assistant and let it build the starting configuration. Pick the preset closest to your trade; everything is editable later.
2. Check your statuses
Section titled “2. Check your statuses”Open Settings → Statuses & Automations. You’ll find a starter set of ticket statuses based on your trade. Rename or reorder them until the list reads like your actual workflow, these statuses drive the queue, the customer portal timeline, and your automated messages.
Don’t over-build this on day one. You can refine statuses any time; start with what’s obviously true about how a repair moves through your shop.
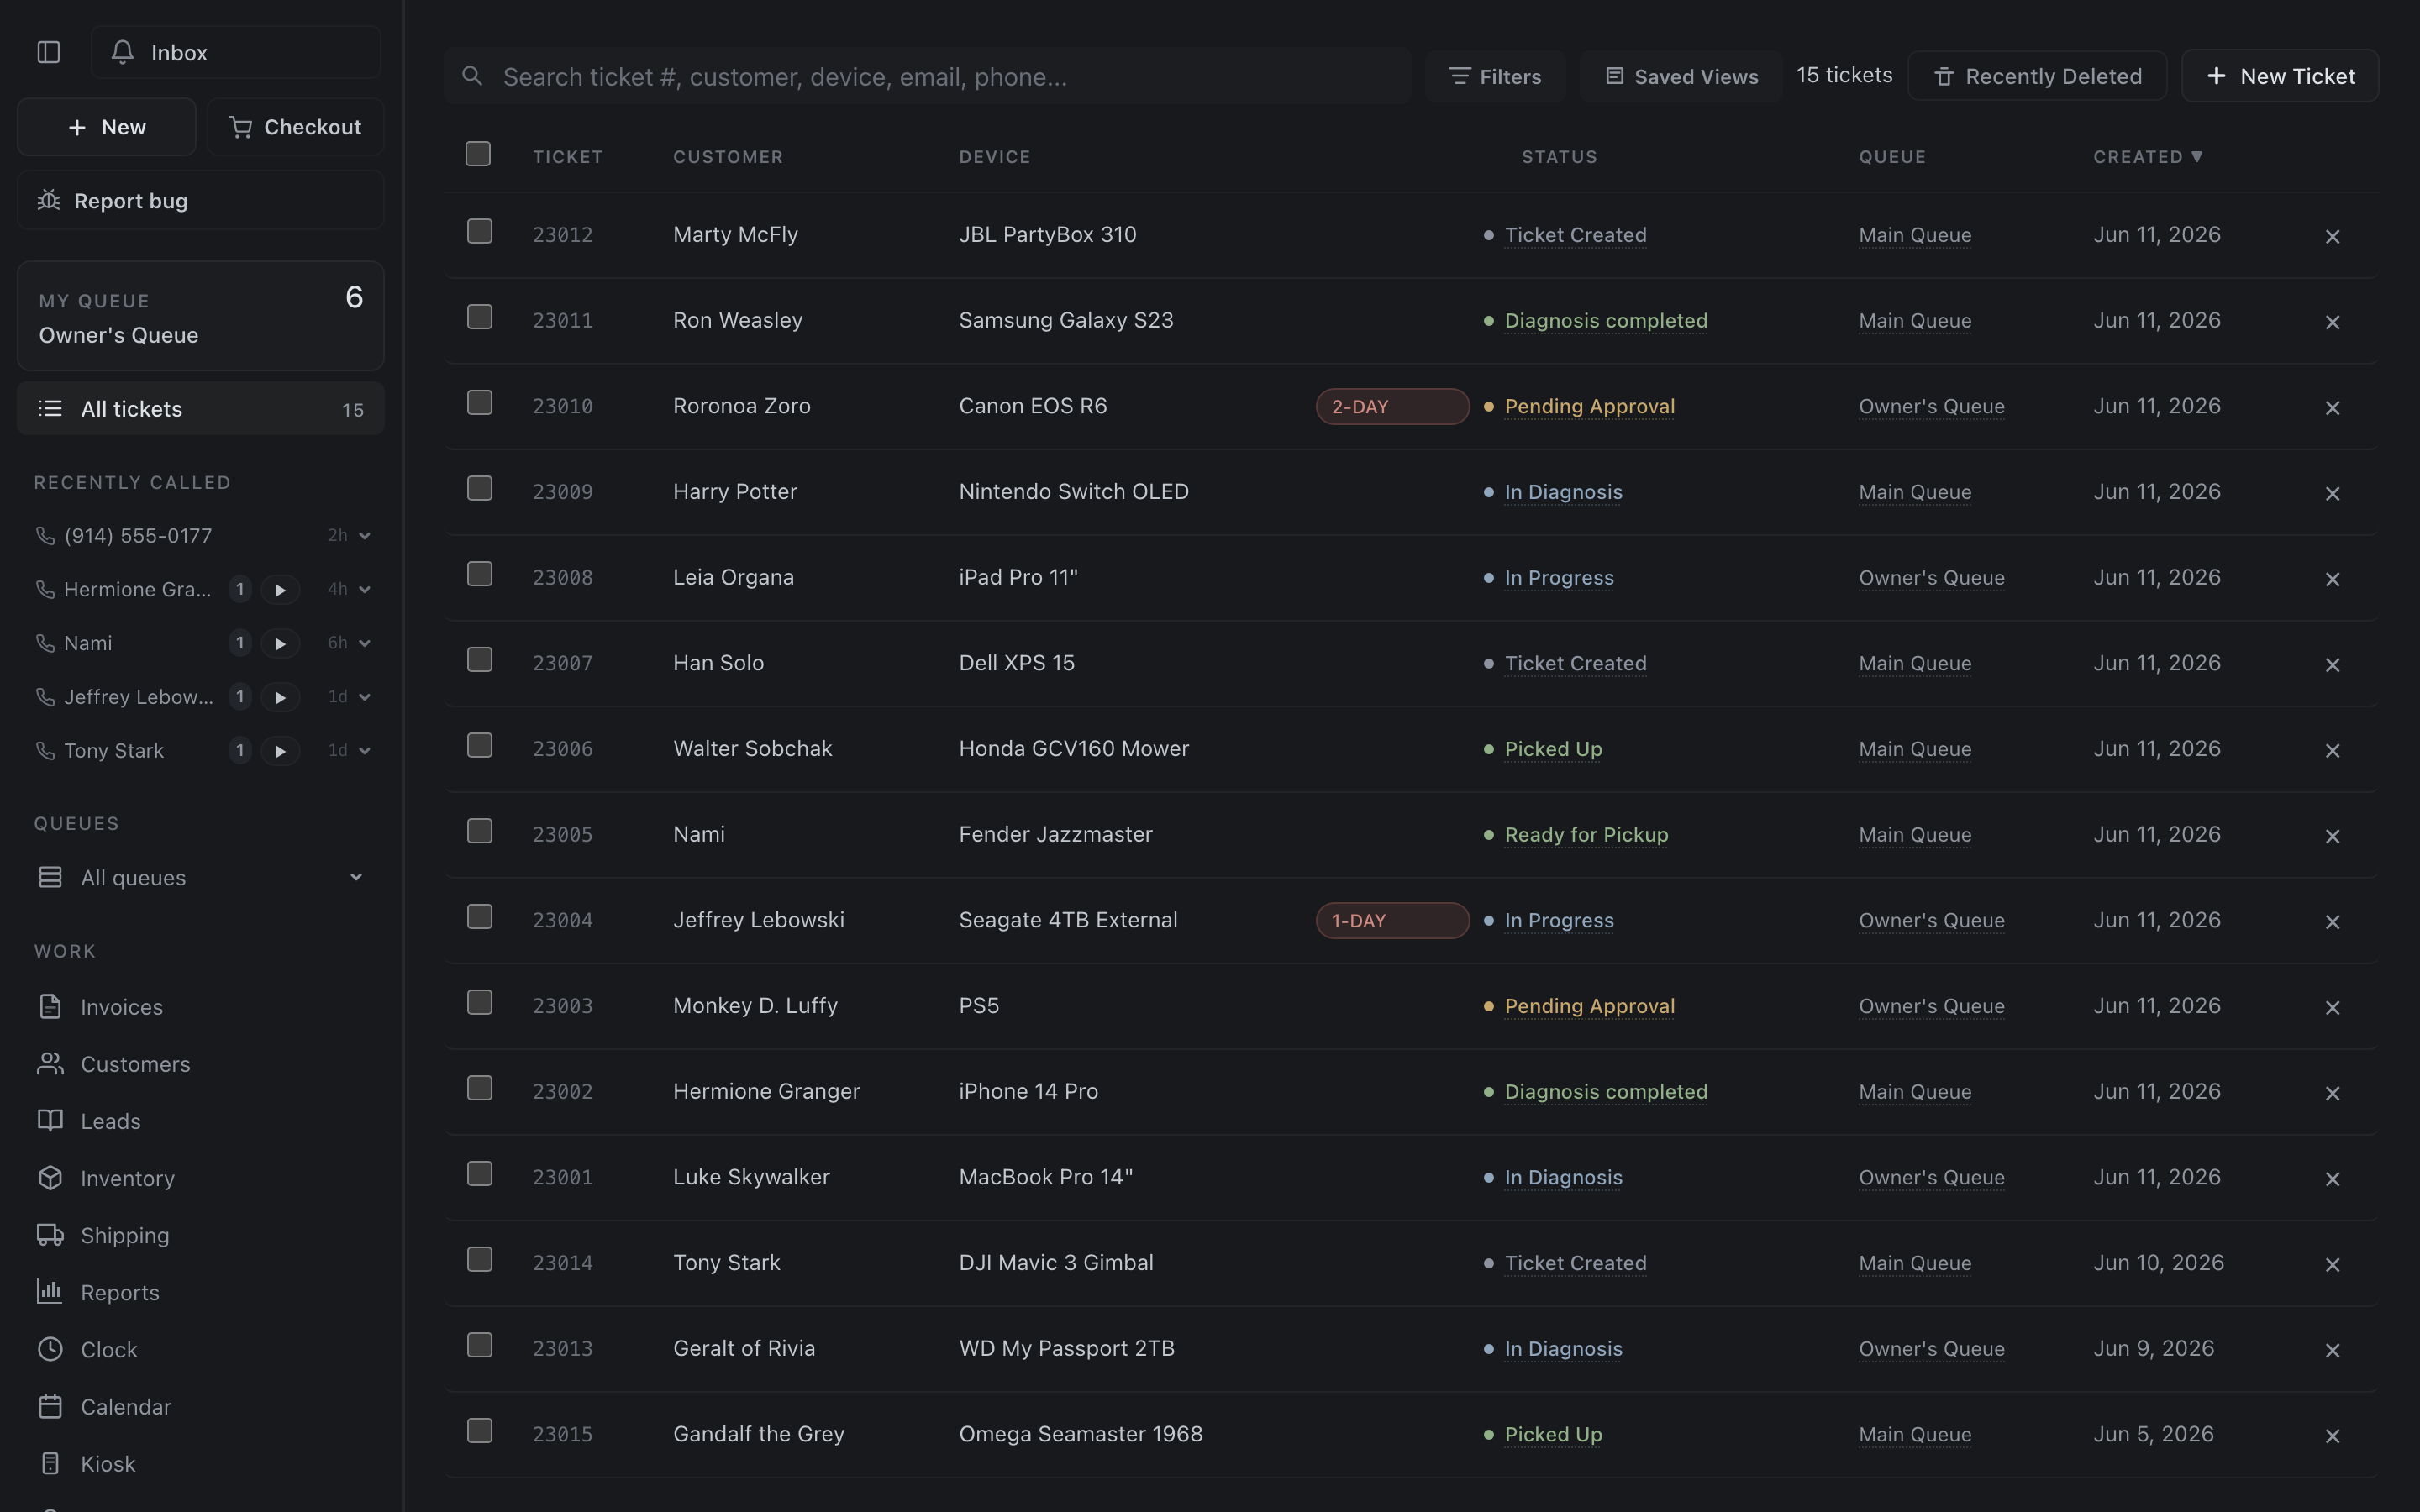
3. Create your first ticket
Section titled “3. Create your first ticket”From the main queue, create a new ticket. Add yourself as the customer with your real phone and email, you want to experience what your customers will get. Fill in a device and a problem description.
4. Walk it through the flow
Section titled “4. Walk it through the flow”Move the ticket through a few statuses and watch what happens:
- The customer portal link (sent at intake) updates its timeline as the ticket moves.
- Statuses with message templates attached send the email/SMS automatically.
- Add a note and toggle its visibility to see what shows in the portal vs. stays internal.
5. Send an estimate and get paid
Section titled “5. Send an estimate and get paid”Build a small estimate on the ticket (a part and some labor), send it, and approve it from the portal link on your phone. Convert it to an invoice and run a test payment path. Notice the receipt email with the invoice PDF, that sent itself.
6. Bring your real data
Section titled “6. Bring your real data”When the flow makes sense, import your customers and history and set up your check-in flow for the front counter.
That’s the spine. Everything else in these docs is depth on what you just did.