

Appointments & online booking
Esta página aún no está disponible en tu idioma.
Appointments let customers commit to a time online, and start the day’s queue before the doors open.
The appointment calendar, where your team books customers in, is on every plan. The online booking page and website embed are part of Pro and Business.
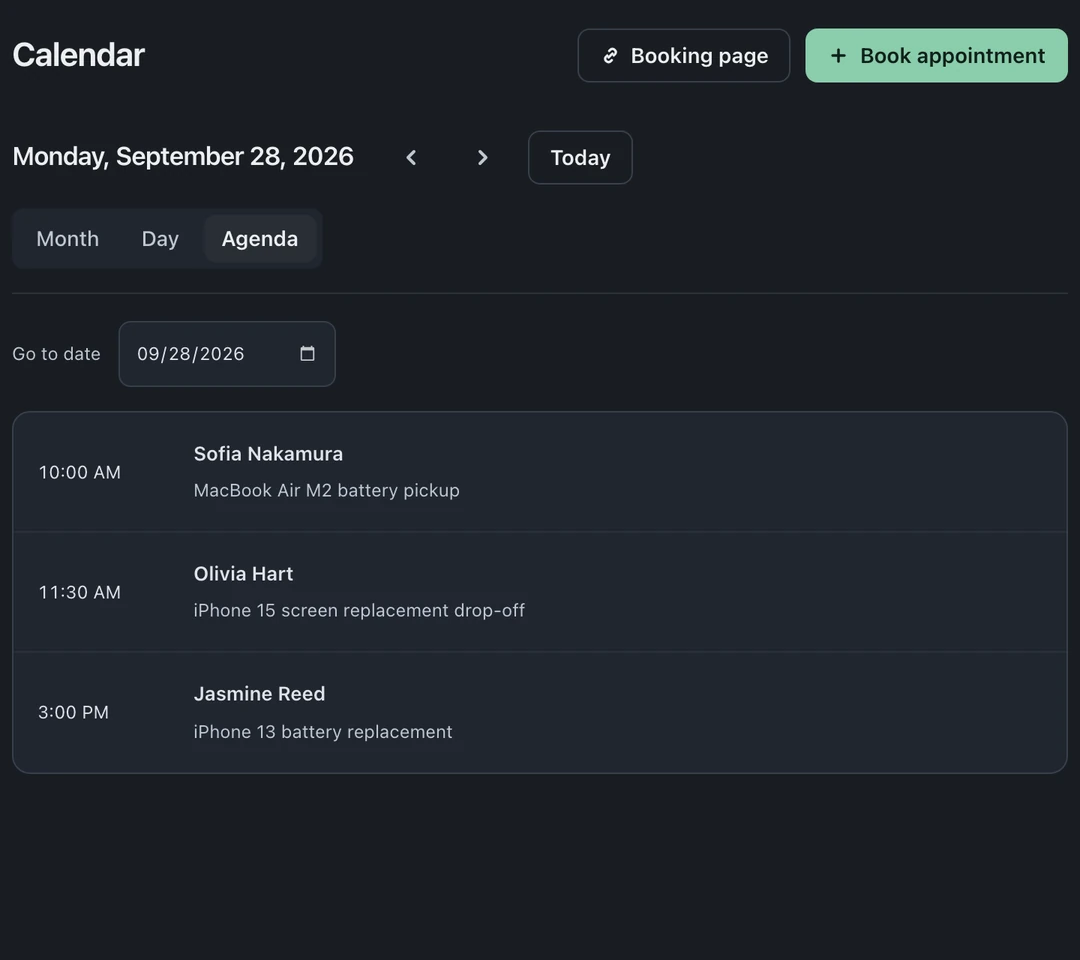
Searching for the customer fills in their contact details, and the saved battery replacement appointment appears in Day view. This recording uses fictional shop data in the real app.
Set your booking hours, share your booking page and find a repair's private customer portal link. (1 min 33 s)
The booking page
Section titled “The booking page”Share your booking link anywhere, your website, Google Business Profile, social bios. Customers pick a slot and provide their contact info and what they need fixed, so the appointment arrives with context.
Reminders
Section titled “Reminders”Configure reminders for the channels your shop uses. Email needs a working recipient address; SMS also needs a connected texting provider and permission to contact that customer.
From appointment to ticket
Section titled “From appointment to ticket”At drop-off, open the appointment and choose Create ticket. The check-in form opens with the customer filled in:
- The customer record attaches (matched by phone/email, like all intake)
- Device and problem details carry over only for bookings made on your booking page, when those check-in fields are on
- Finish the form and choose Create Ticket to link the ticket to the appointment. The normal intake flow continues, label, portal link, queue
No-shows stay visible rather than vanishing, so the counter can follow up instead of forgetting.
Where appointments shine
Section titled “Where appointments shine”- Consultations, custom jewelry work, data recovery evaluations, anything that starts with a conversation
- Managed drop-offs, spreading the Saturday rush across booked slots
- Repeat business, “book your next service” links in pickup messages
Set up online booking
Section titled “Set up online booking”- Open Settings → Business → Appointments (owners and admins). Under Booking schedule and rules, in the Appointment booking card, switch on Enable appointment booking and choose a Slot duration.
- In Business Hours, open each day you work and set its hours, then choose Save Changes. The booking page only offers times you’re open.
- Go back up to Your booking page, the first box on the same page. If the box still shows the old status after you save, reload the page (or open Booking page at the top of the Calendar). When it says Live (Customers can book now), choose Copy link and put the link everywhere people find you: website, Google Business Profile, Instagram bio, email signatures. QR code gives you a code to print, Share sends the link from a phone, and Add to your website (below the box) gives you a booking block or a Book button for your site.
If the box says Not live yet, it lists what’s missing (for example Set your opening hours); choose Finish setup. If it says Off, choose Turn on, then Save booking settings. The Booking page button at the top of the Calendar opens the same box.
Or skip the menus: owners and admins with Let the AI assistant change settings on can tell the AI assistant “set up appointment booking, 30 minute slots, weekdays 10 to 6”, check the changes it shows, and press Apply if it asks (nothing is saved until you do).
After saving, choose Preview on Your booking page and check that the times match your hours, slot length and store before you share the link.